

It’s been three months since my $100 thru-hike: IKEA ultralight backpacking challenge where I set out to hack-together a complete ultralight style backpacking setup entirely from IKEA wares, for under $100.
We’ve had a baby in the meantime, so I’ve been a bit distracted… but yesterday I finally started to assemble my setup.
1) The raw materials

Does this look like a backpack, tent, and full sleeping and rain system to you? I like that this is sort of like the standard pre-trip gear shots folks are posting on Instagram.
This is everything except my heavy-version blue IKEA tarp shelter I explain below.
2. Sleeping Bag

The idea is:
- Breathable shower curtain for an external shell, with garish bright colors for cheer and inspiration to survive the coming cold nights
- Synthetic queen-size comforter as insulation.
- Basic fleece blanket for next-to-skin comfort AND possible hiking-shawl insulating layer (multi-use!).
- Foam pads for sleeping pad. Wide for shoulders, circles for hips and possible layering as needed on pressure points.
Greetings Monday!

3. Boy Scouts style bedroll.

I originally planned to sew this all together like a mummy bag. However, I happened across an old Boy Scouts Handbook from the 70s. It described how to create a bedroll using multiple blankets off-set and folded in layers, finalized with some beefy safety pins to hold it all in place. Seems like a good place to start!
Turns out, this comforter is SUPER lightweight, and barely has any loft or insulation AT ALL. IKEA has various weights of comforters, but the price and physical weight go up rapidly, and their down comforters seemed to have a heavier cotton fabric.
Anticipating the lack-of-loft issue, I bought two really cheap synthetic pillows thinking I could selectively transfer the polyester poof from the pillows to the comforter for added warmth.
By not sewing, I can really experiment with how to arrange things. Perhaps I don’t need ANY comforter under me, and can have three layers on top like a quilt, etc etc.
4) Psychedelic

I think I even paid a dollar or two extra to get this funky colorful design.
5) Roll it up

I cut two sections off my blue IKEA rope. I was in a coffee-addled hurry and did not melt the frayed rope-ends with a lighter, which I need to do if I want those pieces to last! It really is satisfying to melt the rope ends.
Ultimately, the rolled size of the sleep stuff is not bad. Certainly larger than my 35 degree down bag, but smaller than my -10 degree synthetic bag from teenage years.
6) Moment of Truth: will it fit?!

I was worried, but the sleep roll snugged right into the bottom of my fancy $2 zipper-bag.
The next big question is SHELTER.
The two transparent looking items on the bottom right of the table are waterproof shower curtains. My original idea was to use one as a ground cloth and one as a tarp-shelter.
HOWEVER, imagining the vulnerability of these plastic sheets, I figured if I’m truly imagining a thru-hike scenario (Colorado Trail, specifically)… it might be worth the weight to have an actual tarp. IKEA stocks standard blue tarps near the cash-registers along with rope and cam-straps for customers to get merchandise home.
7) Shelter options: to tarp or burrito?
Blue tarp with rope: 2.4 lb
Shower curtain (w/ full spool of IKEA blue rope): 0.6 lb
When I was on my Outward Bound trip in college, we slept exclusively in tarp shelters that were setup using the second-hand ski poles we used as hiking poles. Now, I’m not exactly sure how to address that pole-need with IKEA gear.
In the perfect camp spot, I’d be able to setup the tarp between trees– thus eliminating the need for poles. And this is exactly how I setup the blue tarp in my backyard for a test run. Alternately, I could just fudge the IKEA system a bit and use trekking poles or second-hand ski poles as we did in OB.
From the possibilities of IKEA merchandise, I considered:
- collapsable floor-lamp tubing (questionable structural integrity, expensive)
- a gigantic umbrella that would actually double as a hiking stick for a shorter person, but not quite for me (questionable structural integrity as tent pole, expensive, scary, stabby, cheap metal parts)
- a couple of cut-down broom handles might work as double duty hiking and tent poles. I assume IKEA has brooms?
Anyhow, if I can’t find at least one branch to anchor off of, I can always just wrap up like a burrito. I’ve slept at 10,000+ ft in nothing but a burrito’d tarp before, even without a sleeping bag (as a result of one of the frequent logistical mishaps of wilderness therapy guiding).
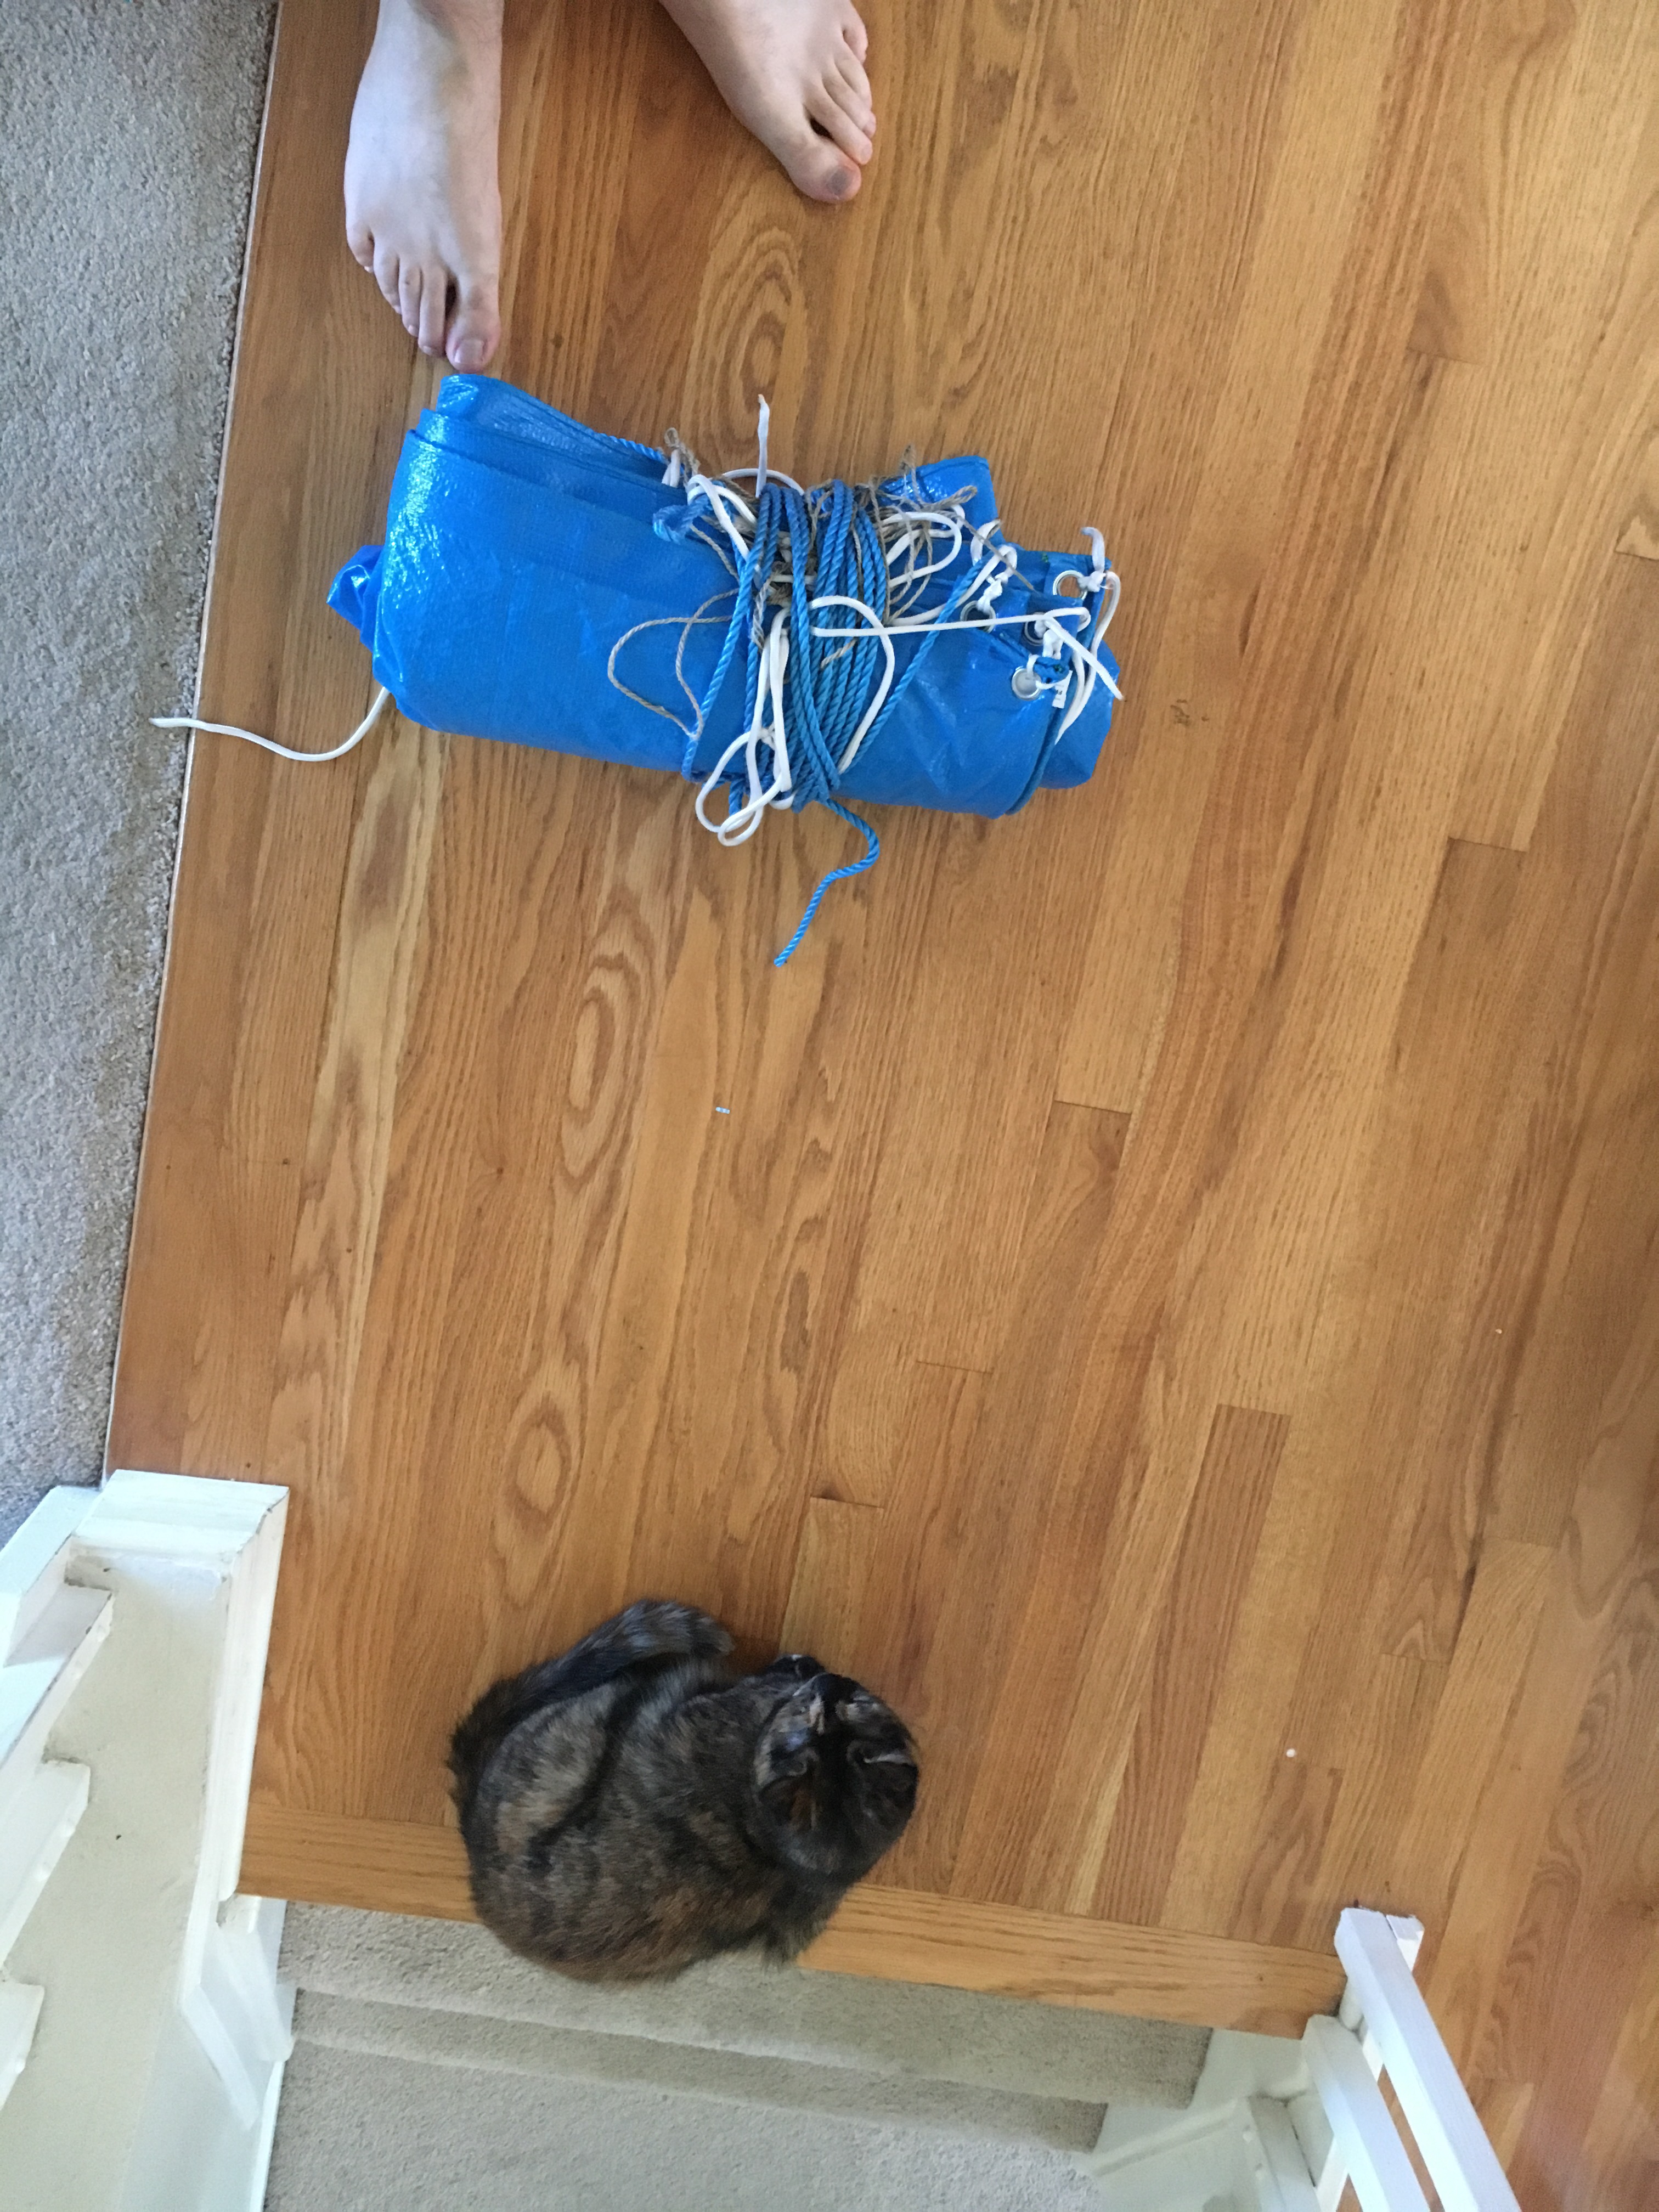
Notes from the blue tarp test run:
In the picture, the blue tarp is wrapped with a bunch of cording (I admit, the white cordage is not from IKEA, but I ran out of blue rope). The tarp was about the right size for even me, at six-foot-four, for a one person tarp shelter. (I’ll make another post with photos from the backyard tarp experiments and link back to it here in the future.)
I was trying not to tie-off to the rivets in the corners, in fear of ripping, but ultimately the tarp shed water MUCH better using the rivets instead of sheet-bend knots.
Working with Northwest Youth Corps, we always set up HUGE kitchen tarps, and viewed sheet-bends at the corners as best practice. In retrospect, there’s a lot more force on a 20 to 40 foot tarp hung with climbing rope than on my little one-man setup.
8) Still Plenty of Room

About 1/3rd left for food, water, and etc.
9) and Etc

- Bottles for… sunscreen, soap, oil, hot sauce. Do I trust them? Well, I’ll assume they leak until proven otherwise and will double-bag with ziplocks in the meantime.
- 2 Super lightweight totes for a clothing bag/pillow and food bag/bear hang.
- Poncho and small umbrella as attempted rain system. (We’ll see!)
- Trash bags to water-proof sleeping bag and clothing inside pack.
- LED light strand for whimsy/reading light.
- Rope: I should have bought 3 of these. The shelter really needs a lot to create long tie-outs on each corner and the ridge-line, and then there’s a bear-hang to consider.
9) Waterproofing
It makes a lot of sense to use heavy-duty trash bags to waterproof the contents of your backpack, specifically sleeping bag and clothing.
I apparently bought bags that have a very odd horizontal orientation. They are wider than they are tall with roughly the shape of a canoe. But a little chip-clip sealed the deal! This really is lighter-weight than it should be… I really like a heavy-duty liner bag so it does not tear and spring a leak.

10) Whimsy!

You know that scene, at the end of Twilight, when they’re at the dance and Iron and Wine is playing and the sparkly lights are strung and… me neither man.
This thing is not great. There’s a tiny little screw on the battery-door I nearly lost immediately. Triple-a batteries would be nicer. But… we’re talking about whimsy here.
It’s a strand of lights, but keeping it in the clear-box seems like a neat way to make it a tent/tarp/burrito lantern and manage the mess of cord.
This is just admittedly silly, but like the crazy sleeping-bag/shower-curtain colors… I anticipate that little fun touches will give an important mental boost while suffering through the insufficiency of this spartan setup!
10) Everything in the bag – first impressions

The full setup weighs 11.2 lb using the heavy blue tarp shelter and 9.6 lb using the shower-curtain shelter. That’s including an extra pillow (for extra-sleeping bag stuffing) for good measure.
With NO modifications, the backpack straps do not feel terrible.
Of course this does not include the big-bad heavies:
- food
- water
And a handful of clothing etc. (Though I’ll be aiming to avoid any redundant clothing, and with my fleece blanket and poncho, I may be fully-layered depending on the weather conditions.)
ALAS, my hands definitely started to feel numb after a minute or two, even at 11.2 lb. So, it will definitely be necessary to make some modifications to the IKEA bag-pack (okay, maybe I’ll call this whole misguided venture IKEA bag-packing from now on).
Potentially, my next steps will be, in order of urgency:
- Shoulder strap padding and modifications. Even jamming a kitchen hot-mitt under each shoulder strap was a big improvement on the raw strap.
- Waist-belt system, ideally linked to some water-bottle pockets/flexible side pockets.
- Rigid internal or external frame supports to help distribute the load (this step seems the most abstract and counter to ultralight mentality… so probably least likely to attempt).
Regarding shoulder straps: I just started a Netflix series about everyday innovations, and one of the first products featured was foam-rubber. The host showed how foam was discovered, and then visited an injection-molding facility.
WELL! My first idea for shoulder-straps and waist belt is to jerry-rig my own homemade foam injection molding by spraying some of that canned insulation-foam into a contained space of the appropriate dimensions. Perhaps I can even create more of an official mold and purchase the actual chemical to pour my own foam? (Materials experts please chime-in here…)
But this all violates the core idea of an IKEA-based, sub-$100 project! So, I’ll just start by finding some pre-existing foam pieces that will do the job. But I REALLY like the idea of investigating how difficult it is to do custom foam work.
11) Compared to my heavy duty pack

My Arcteryx Bora 95 from 2006 is amazing for carrying VERY HEAVY loads. In this picture I have all the straps locked down super tight and the pack is empty. But when filled up, it can become truly huge.
For backcountry trail work, this was great. I could load up 50+ pounds of gear inside the pack, and THEN start strapping trail tools on externally. While I’m pretty sure I basically blew-out my knees carrying these stupid-heavy loads, my shoulders and hips were magically never uncomfortable. The pack can haul!
BUT, completely empty, this pack weighs in at 8.4 pounds. Empty! While my IKEA setup is either 9.6 or 11.2 lb with shelter, sleeping system, and etc. For contrast, a modern ultralight thru-hiking setup for real $$$ might be, let’s say, 5.3 lb, for example.
(See: “Gear for the PCT: My Big 3” from YouTuber Darwin onthetrail for his current 5.3 lb example. If you are prone to gear-envy, you may want to skip this one 🙂 and stick with my $3 tenting options.)
The real trick will be to see if the IKEA bag can be rigged to work with 15+ extra pounds of food and water without slowly amputating my arms 🙂
And seeing if the blanket roll really provides any warmth at all!
But for now, I’m one step closer to getting this persistent project idea out of my head and into the world, for better or worse.
The whole idea is, we don’t need fancy and expensive things to enjoy the outdoors.
I’m usually so nervous with my REAL tents that I don’t want to let my daughter play in them or mess around. With a $3 tarp, who cares! And if the water doesn’t shed properly, I’ll just try a different method of pitching.
So, we can take a functional and creative approach to hacking inexpensive things together, and enjoy the preparations and experimentation as much as the actual journey. Nifty!
Thanks for reading, and please share your thoughts below!
